How to Make Minecraft Block Textures (No Photoshop Needed)
A start-to-finish guide to drawing your first 16x16 Minecraft block texture in the browser, from picking a palette to exporting a pack you can drop into the game.
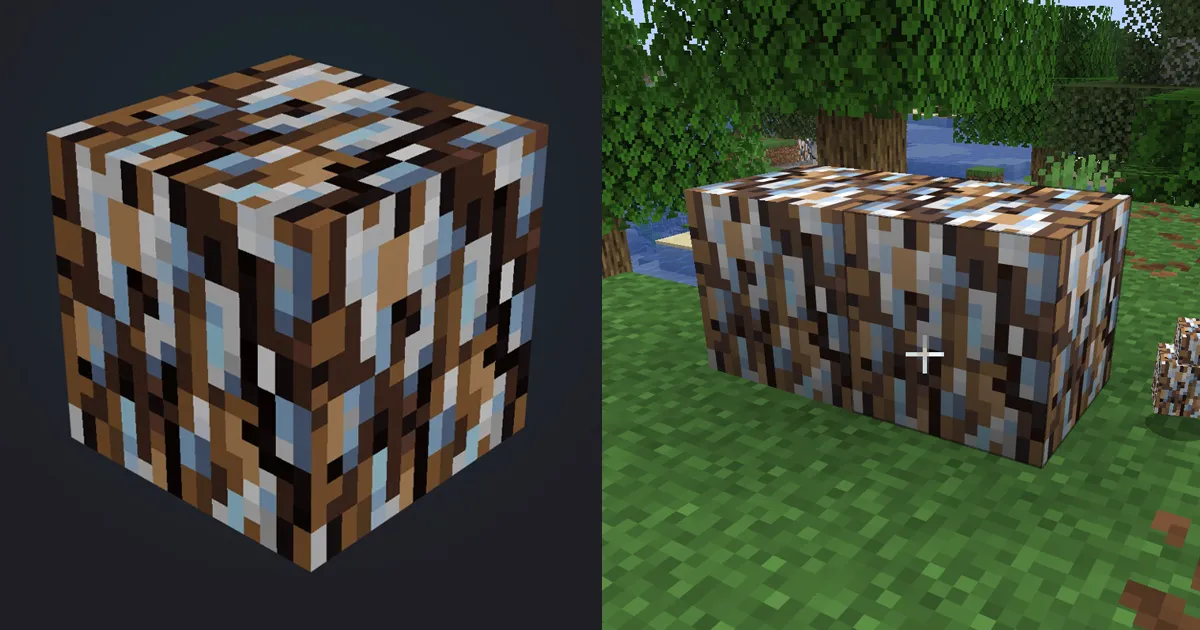
Making a Minecraft block texture means drawing a small, tileable square image - 16x16 pixels by default - that the game wraps onto every face of a block. You do not need Photoshop or any installed software. This guide walks you through drawing your first block texture in the browser with Hexcalibur, checking that it tiles cleanly, and exporting a resource pack you can drop straight into the game.
By the end you will have a finished stone, dirt, or plank texture and a .zip resource pack ready to load.
What you need before you start
Almost nothing. Hexcalibur runs in your browser, so there is no install step. You will want:
- A computer with a modern browser. Your work saves locally as you go.
- A copy of Minecraft Java Edition to test the result (optional, but satisfying).
- About fifteen minutes.
The free plan lets you keep one pack with up to eight textures in it, which is plenty for a first block. If you later want more packs or textures, Hexcalibur Pro lifts those caps.
Step 1: Start a pack and set the canvas to 16x16
Open the editor and create a new pack. A pack is the container Minecraft expects: a set of textures that ship and install together, not a loose pile of images.
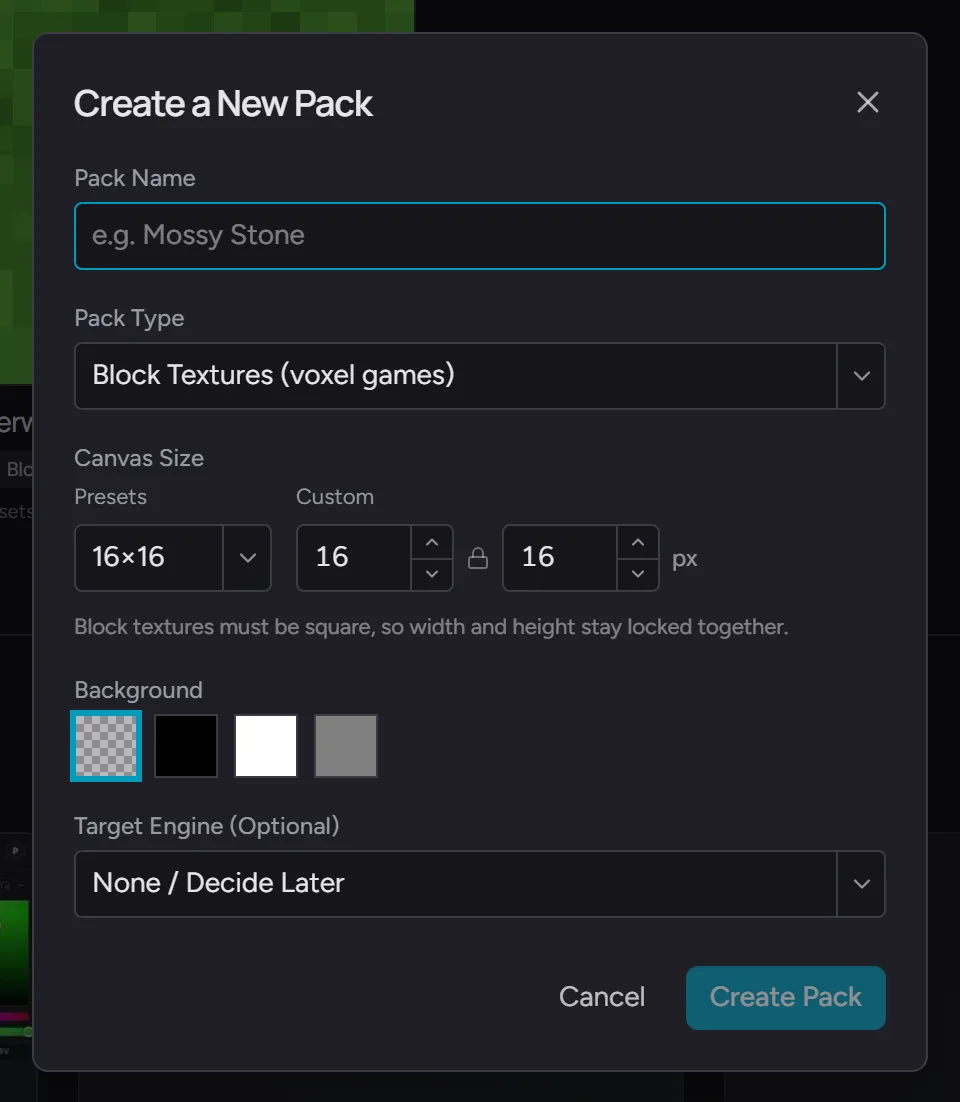
In the Create a New Pack dialog, name your pack, keep the pack type on Block Textures (voxel games), and leave the canvas size at 16x16 pixels - block textures are square, and 16x16 is the Minecraft default. That tiny grid is the whole reason Minecraft art has its look: every block on screen is sixteen pixels across. Keep the default unless you are deliberately making an HD pack, in which case the 32x32 and 64x64 presets also work.
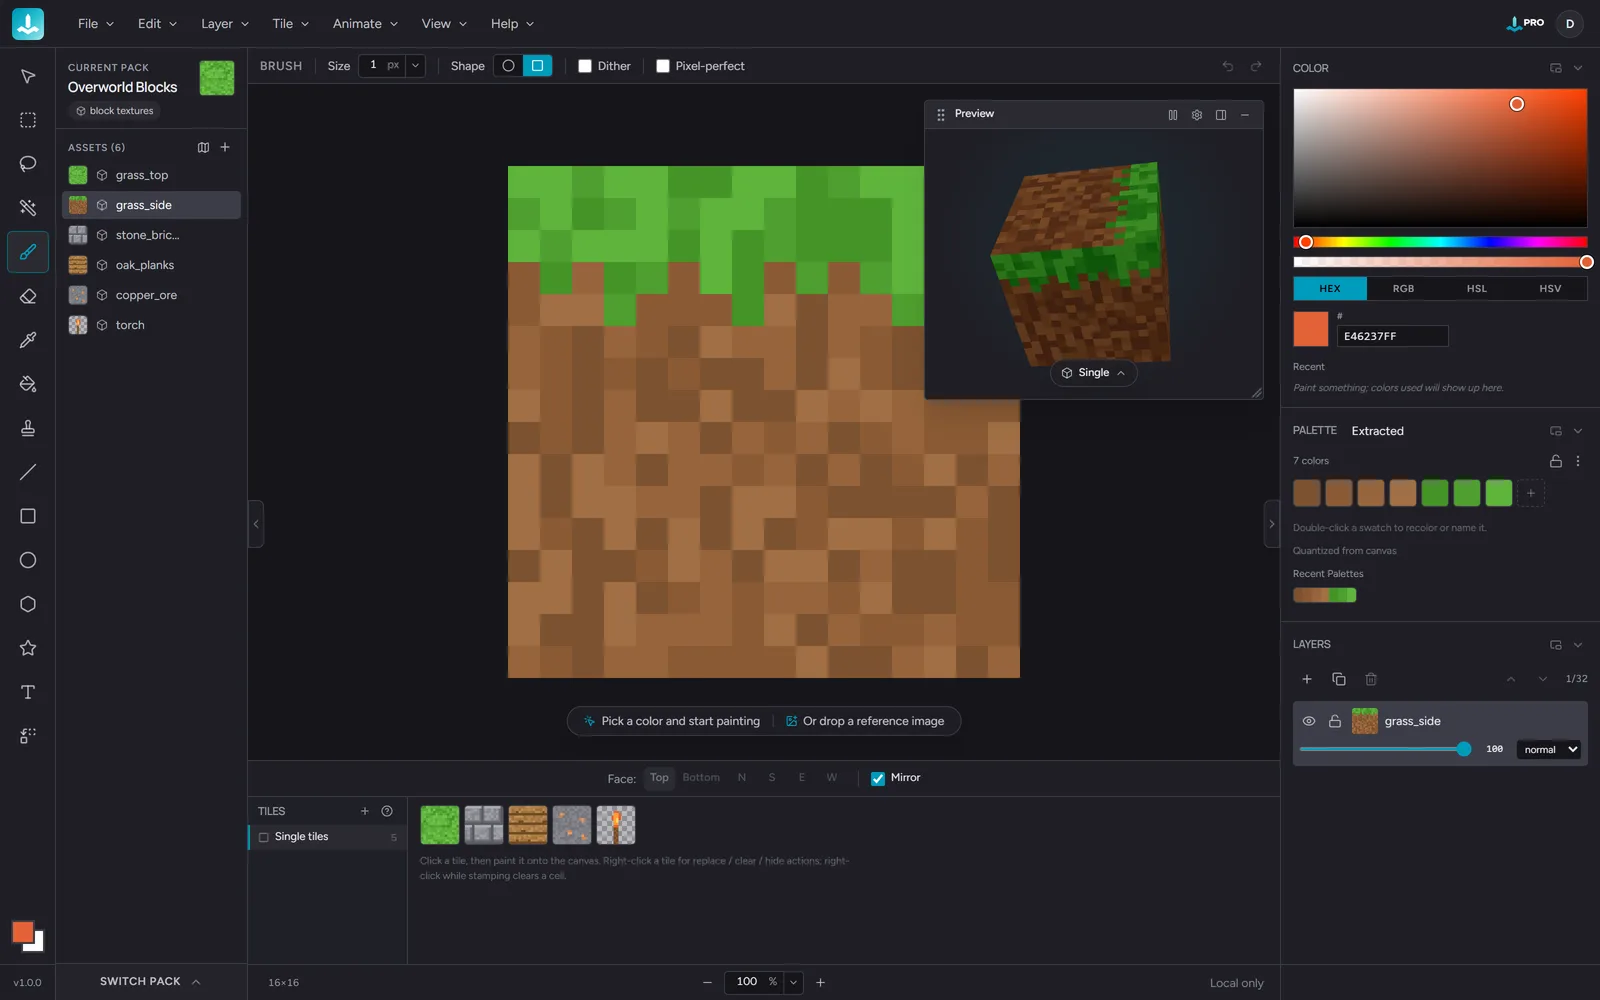
Create the pack and it opens with your first blank texture ready to paint.
A 16x16 canvas feels cramped at first. That constraint is the craft. Every pixel has to earn its place, which is exactly why good Minecraft textures read clearly from across a room.
Step 2: Choose a palette
Before you paint, pick your colors. Working from a fixed palette is the single biggest thing that separates a texture that looks intentional from one that looks muddy.
Hexcalibur ships with preset palettes built for this, including Minecraft (common) - sixteen colors sampled from classic block textures - plus pixel-art staples like Pico-8, Game Boy DMG, Endesga 32, and Apollo. Pick one, or build your own from a handful of swatches. A stone block needs maybe four or five grays; a wood plank needs three or four browns. That is it.

Then click the lock icon in the Palette panel so every stroke snaps to the nearest palette color. It stops you from quietly introducing a sixth, slightly-off gray halfway through and keeps the texture coherent.
Step 3: Block in the base, then add depth
Work in three quick passes:
- Fill the base color. Flood the canvas with your mid-tone. This is your starting point, not the finished surface.
- Add shading. Scatter a few darker pixels for cracks, grain, or grout lines, and a few lighter ones for highlights. Keep it irregular - real surfaces are not symmetrical.
- Darken the edges, carefully. A little contrast at the borders helps a block read, but heavy outlines make tiled blocks look like a grid of tiles instead of a continuous wall. Use them sparingly.
Resist the urge to add detail everywhere. At 16x16, a handful of well-placed pixels reads as texture; a busy canvas reads as noise.
Step 4: Check that it tiles
This is the step most beginners skip, and it is the one that matters most. A block texture repeats across walls and floors, so any feature that touches an edge has to line up with the opposite edge.
Hexcalibur gives you two ways to check, and both update live as you paint:
- Tiled mode (
Shift+') surrounds your canvas with copies of itself, so you see the texture exactly as a repeating wall. Seams, hard lines, and any bright pixel that draws the eye every time the block repeats jump out immediately - and you can keep painting right across the edges while it is on. - The 3D preview wraps the texture onto a rotating cube, which catches the problems that only appear once faces meet at corners.
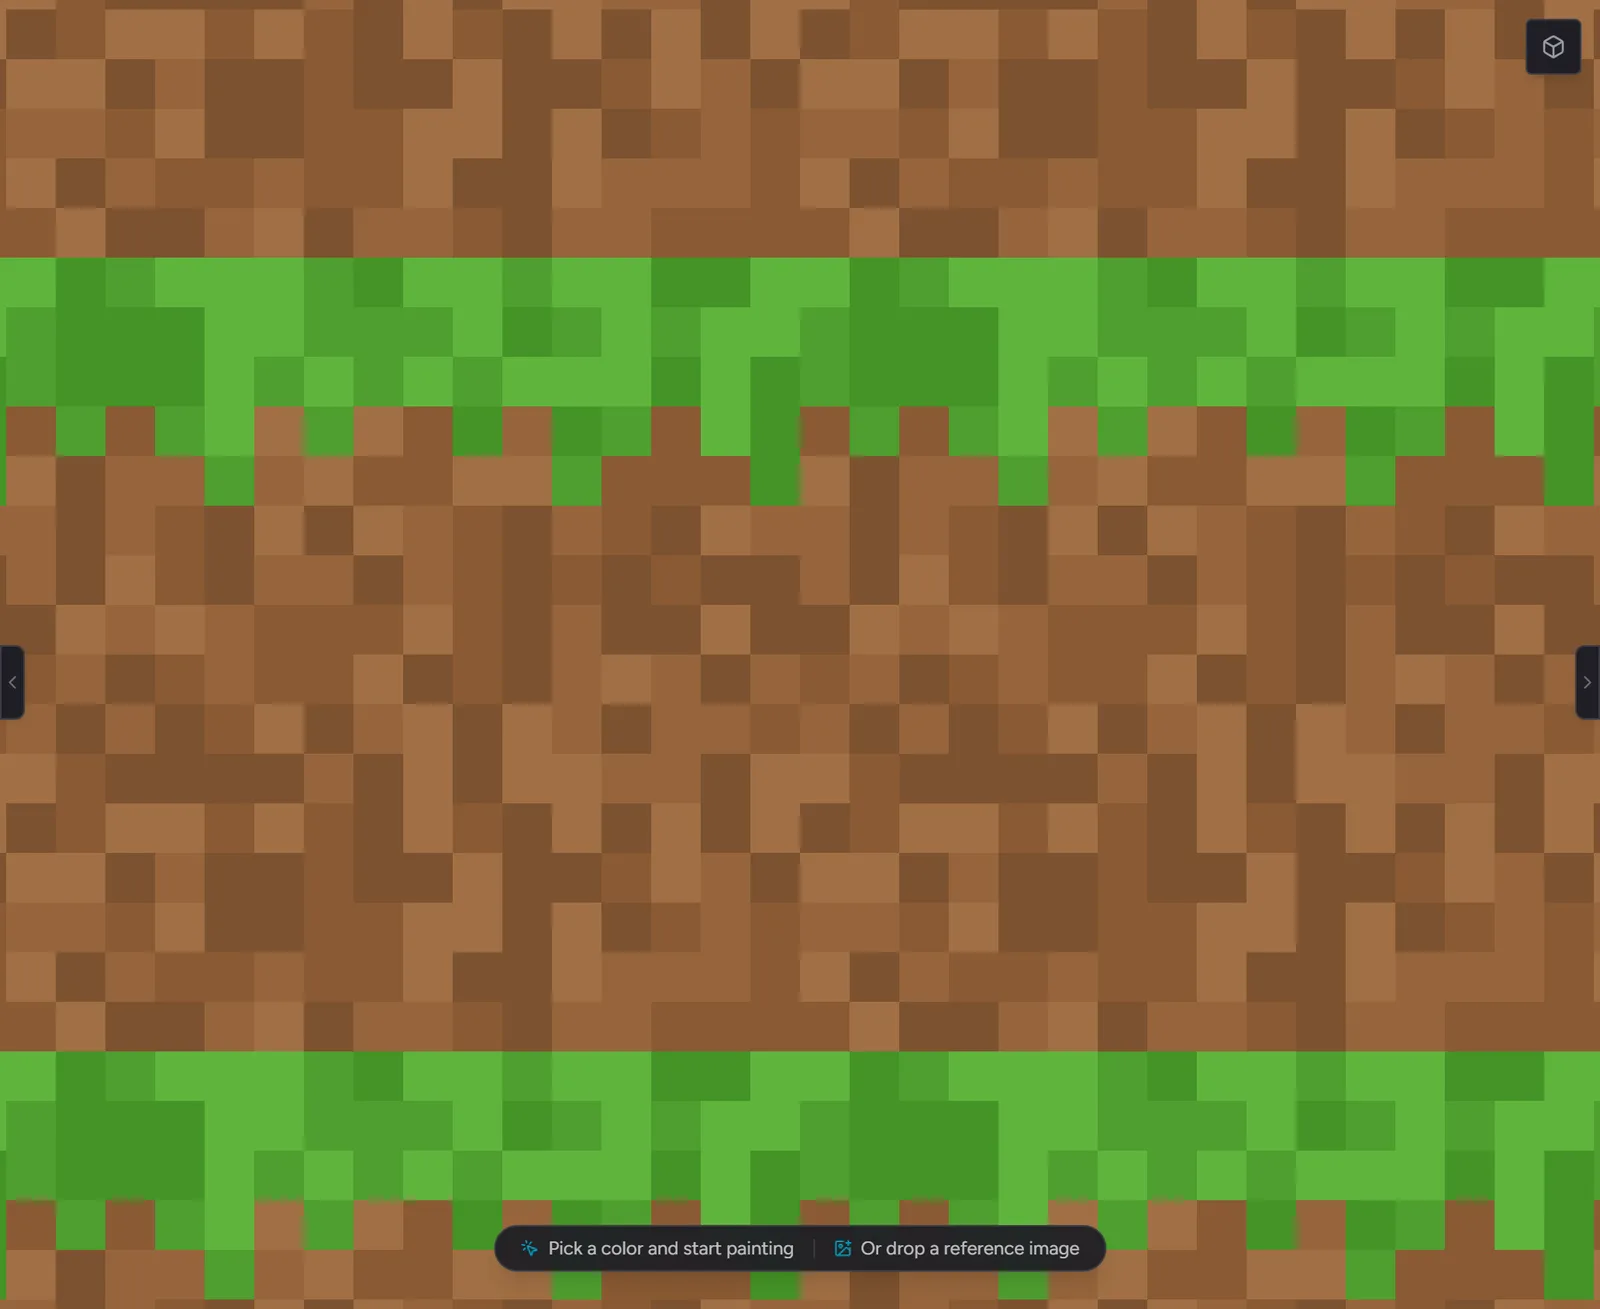
If a crack runs off the right edge, make sure it continues from the left. Nudge edge pixels until the surface looks continuous when it wraps.
Step 5: Export a Minecraft resource pack
When the block looks right, export it. Choose the Minecraft Java (.zip) option and Hexcalibur builds a complete resource pack - folder structure, metadata, and your texture in the right place - zipped and ready.
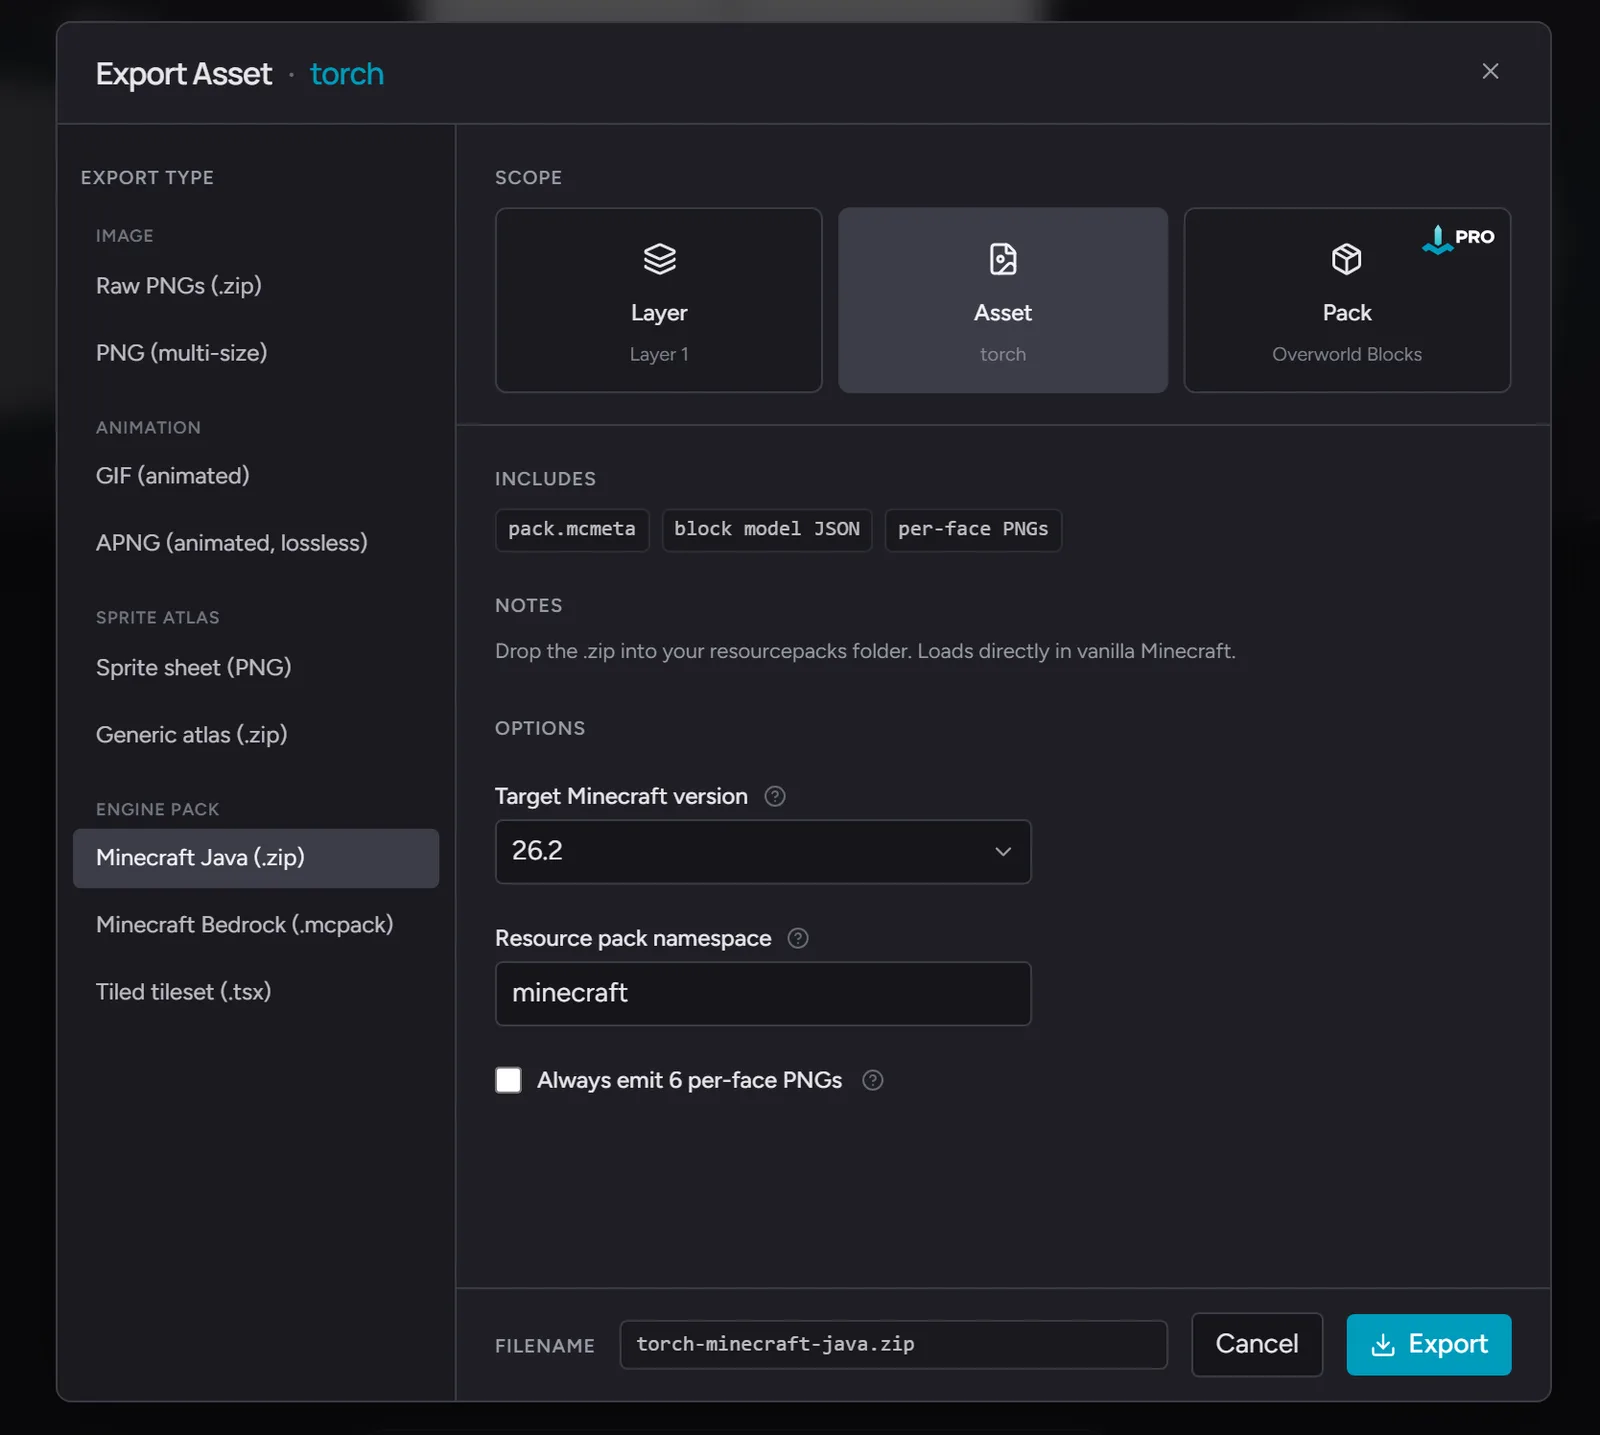
Set the Target Minecraft version to the version you play - it writes the matching pack_format into the pack metadata, so the game does not flag your pack as made for a different version.
Exporting a single texture this way is free. When a pack grows to many textures, Pro adds pack-scope export, which zips the whole pack in one go instead of one asset at a time.
To install it:
- Put the
.zipinto your.minecraft/resourcepacksfolder. - In Minecraft, open Options > Resource Packs and move your pack to the active column.
- Load a world and find your block. Your texture is in the game.
If you want the same texture in another engine instead, see exporting block textures for Minecraft, Tiled, and any voxel engine.
A few habits that make better textures
- Squint at your work. If it still reads as stone or wood when blurred, the values are right.
- Limit your colors. Fewer, well-chosen colors almost always beat more.
- Test in context. A texture that looks great zoomed in can fall apart as a tiled wall. Tiled mode and the 3D preview are there for exactly this.
Frequently asked questions
What size are Minecraft block textures?
The default is 16x16 pixels. That is the size vanilla Minecraft uses for every block. You can make higher-resolution (HD) packs at 32x32, 64x64, or larger, but those require more drawing time and the classic look comes from 16x16.
Do I need Photoshop to make Minecraft textures?
No. Hexcalibur runs in the browser with the pixel tools, palette controls, and resource-pack export built in, so you never touch Photoshop or install anything.
Is making textures in Hexcalibur free?
Yes. The free plan covers one pack with up to eight textures, which is enough to make and export a real resource pack. Pro raises the limits when you want more packs, more textures per pack, and longer animations.
How do I install my texture in Minecraft Java?
Export the Minecraft Java .zip, drop it into your .minecraft/resourcepacks folder, then enable it under Options > Resource Packs in the game.
Can I animate a block texture?
Yes. Hexcalibur has an animation timeline with frames and tags, and it exports animated GIFs on the free plan. Animated resource-pack formats and other animated exports are part of Pro.
Ready to draw your first block? Open Hexcalibur and start a pack.